Are you interested in art and want to draw simple cat sketches? Drawing cats is fun and rewarding for beginners. With a few easy steps, you can make your feline friends come to life on paper.
Creating beginner-friendly feline doodles is simpler than you might think. You don’t need to be a great artist to make cute cat drawings. Our step-by-step guide will help you start with easy cat drawings, covering the basics and more.
As you follow our guide, you’ll find joy in creating personal and engaging art. Whether you want to get better at drawing or just enjoy some creative time, we’re here to help.
Key Takeaways
- Learn the basics of drawing cats with simple steps.
- Discover tips for creating adorable feline doodles.
- Improve your drawing skills with our beginner-friendly guide.
- Explore the world of cat drawings and unleash your creativity.
- Find inspiration for your next art project.
Why Learning to Draw Cats is Perfect for Beginners
Learning to draw cats is fun and rewarding for beginners. Cats are a favorite subject in art because their bodies are simple. This makes them great for those just starting out.
By drawing cats, you can learn basic drawing skills. These skills will help you draw more complex subjects later on.
The Simple Shapes Behind Cat Anatomy
Cat anatomy is made up of basic shapes, making it easy for beginners to draw. The head is a circle, the body an oval, and the legs are cylinders. Knowing these shapes is key for a step-by-step cat art tutorial that’s easy to follow.

Setting Realistic Expectations for Your First Attempts
When you start drawing cats, it’s important to have realistic expectations. Your first drawings might not look like professional art. But, with practice, you’ll get better.
Here are a few tips to help you:
- Start with simple poses and gradually move to more complex ones.
- Practice regularly to develop your drawing skills.
- Don’t be too hard on yourself; it’s okay to make mistakes.
By following these tips and practicing, you’ll soon be creating adorable cat drawings.
Essential Supplies for Your Cat Drawing Journey
To start drawing cats, you’ll need some basic supplies. These tools will help you create effortless cat sketches. The right tools can greatly improve your learning and drawing experience.
Must-Have Tools for Beginners
Beginners need a few key tools to get started. You’ll need a set of graphite pencils (HB, 2B, 4B, 6B), a sharpener, an eraser, and a sketchbook with a smooth texture. A graphite pencil set lets you create different line weights and shading. A good eraser helps fix mistakes without ruining your paper.
Optional Materials to Enhance Your Sketches

Once you’re good with the basics, you can try more materials. You might use colored pencils, markers, or pastels to add color and depth. You could also try different paper types or a drawing tablet for more options in your
Understanding Basic Cat Anatomy for Better Drawings
To draw cats well, you must know their body structure. This includes their bones, body shapes, postures, and facial features. These basics are key to realistic cat drawings.
The Skeletal Structure and Proportions
Cats have a special skeleton that lets them move easily. Knowing their bone sizes is important for accurate drawings. Here are some important points:
- The average cat’s body length is about 2-3 times their head length.
- Their spine is very flexible, helping them twist and turn.
- Their legs match their body size, with front legs a bit shorter.
Cat Body Shapes and Postures
Cats vary in size and shape, and their poses show their mood. When drawing cats, remember these points:
- Cats often sit or lie down, looking relaxed.
- When they stand or walk, they have a unique way of moving.
- Their tail shows their mood or feeling.
Facial Features and Their Placement
The face is crucial for showing a cat’s personality. To draw a cat’s face right, focus on the placement of its features:
- The eyes sit on either side of the head, about one-third down from the top.
- The nose is small and slightly upturned.
- The mouth and whiskers are key for showing feelings.
By learning and using these basic cat anatomy tips, you can make your drawings more realistic and appealing.
Mastering Easy Cat Drawings: Core Techniques
Learning and practicing core drawing techniques can greatly improve your cat drawings. These techniques help you create simple yet captivating cat sketches.
Using Geometric Shapes as Building Blocks
One key technique in drawing cats is using geometric shapes as a base. Start by breaking down the cat’s body into basic shapes like circles, ovals, and rectangles. For example, the head can be a circle, and the body an oval.
This method makes drawing easier and helps with proportions.
Geometric shapes act as guides, making it simpler to sketch the cat’s posture and proportions. As you get better, you can refine these shapes into more detailed features.
Controlling Line Weight and Pressure
Varying line weight and pressure can add depth and character to your cat drawings. Line weight is the thickness or thinness of your lines, which you can control by adjusting your drawing tool’s pressure. Use softer lines for initial sketches and darker, thicker lines for final contours.
Trying different pressures and line weights can make your drawing more dynamic and expressive.
Simple Shading Methods for Fur Texture
Shading is key for adding texture and dimension to your cat drawings, capturing the fur’s softness. A simple shading technique involves using gentle, smooth strokes for gradual light to dark transitions. You can also use hatching and cross-hatching for more texture and depth.
To get a realistic fur texture, focus on the direction of your shading strokes. Make sure they follow the natural flow of the cat’s fur.
Step-by-Step: Drawing a Cat Face
To make cute kitten illustrations, start with the basics of a cat face. This guide will help you learn to draw adorable feline portraits step by step.
Step 1: Creating the Basic Shape
Start by drawing a circle for the cat’s head. Make sure it’s round. You can use a compass or trace around a circular object for a perfect circle. Then, draw a curved line below the circle for the chin. This sets the face’s shape.
Step 2: Placing and Drawing the Features
Now, place and draw the cat’s facial features. Divide the circle into two halves with a vertical line. Add guidelines for the eyes, nose, and mouth. The eyes go on the upper half, and the nose and mouth on the lower half. Use these guidelines to draw the features, keeping the proportions right.
Step 3: Adding Details and Expressions
With the basic features drawn, add details and expressions. Focus on the eyes’ shape and size, and the mouth and nose’s curve. You can also add whiskers and eyebrows. Try different expressions to show your cat’s personality.
Creating a Full-Body Cat Sketch
To draw a full-body cat, start by breaking it down into simple shapes. This method is key for quick cat drawing lessons. It helps beginners understand a cat’s body structure and proportions.
Step 1: Blocking in the Main Body Parts
First, sketch the cat’s main parts like the head, body, and posture. Use shapes like circles, ovals, and rectangles. This step is vital for getting the right proportions and effortless cat sketching techniques.
Step 2: Adding Legs, Tail, and Paws
After the main parts are sketched, add the legs, tail, and paws. Focus on the right proportions and placement. The legs should match the body size, and paws should be at the legs’ ends. With practice, adding these details will become easier, making your drawings more detailed.
“The way we see animals is influenced by our understanding of their anatomy and our ability to simplify it into recognizable forms.”
Step 3: Refining Proportions and Posture
After adding the legs, tail, and paws, refine the cat’s proportions and posture. Ensure the body is balanced and proportions are correct. Make adjustments for a natural and relaxed look. This step is crucial for a believable and engaging cat drawing.
By following these steps and practicing often, you’ll get better at drawing full-body cat sketches. Remember, the key to getting better is consistent practice and patience with your drawing skills.
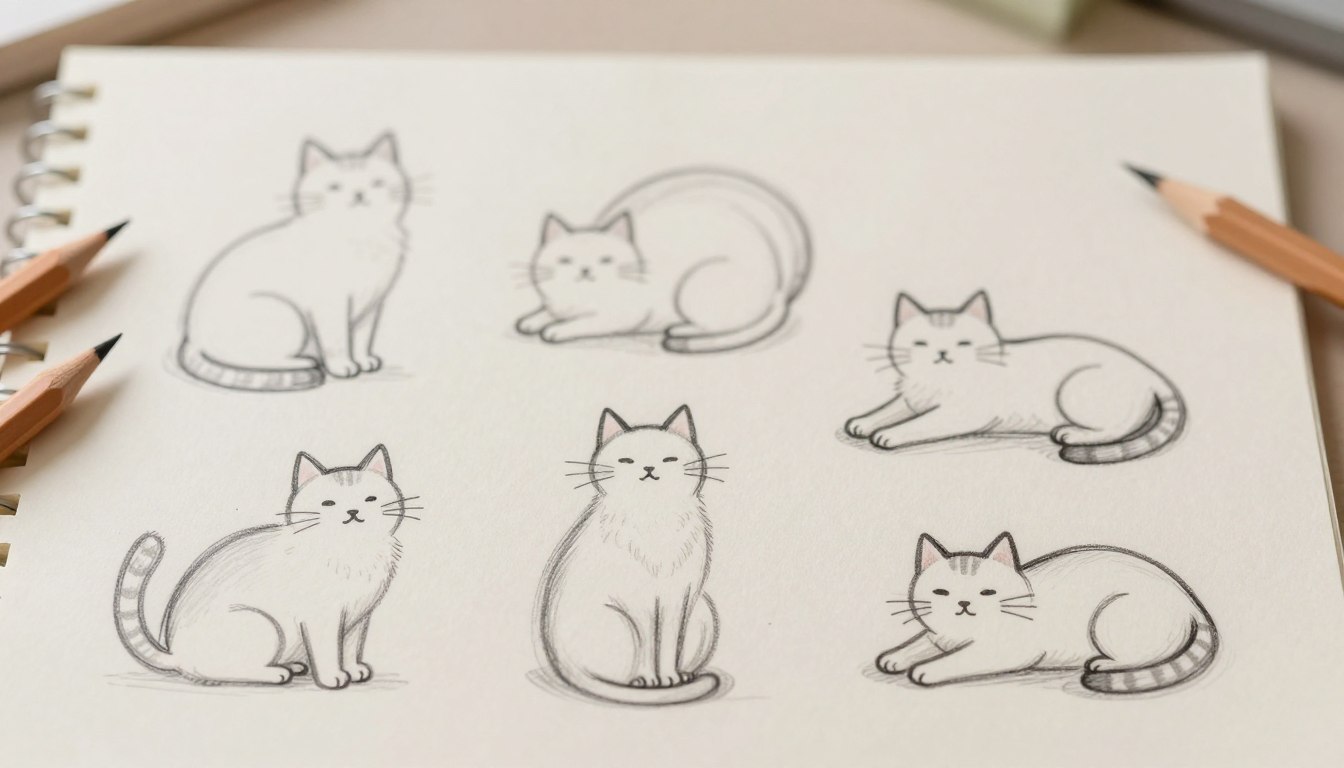
Drawing Cats in Different Poses
As you get better at drawing cats, try different poses to make your art more interesting. Drawing cats in various poses is a great way to improve your skills. It also helps you understand their behavior better. We’ll show you how to draw cats sitting, sleeping, and in action.
The Sitting Cat: Step-by-Step Guide
To draw a sitting cat, focus on its posture and size. Start with the basic shape of the cat’s body, using circles and ovals. Then, add the legs, tail, and head to refine it.
- Begin with the overall body shape
- Add the legs and refine their position
- Sketch the head and facial features
- Refine the details and add texture to the fur
The Sleeping Cat: Capturing Relaxed Postures
To draw a sleeping cat, aim to show calmness and relaxation. Notice how the cat’s body and legs are positioned.
Here’s how to draw a sleeping cat:
- Sketch the overall relaxed shape of the cat’s body
- Position the legs and tail in a relaxed posture
- Add gentle, soft lines to indicate the fur texture
The Active Cat: Sketching Movement and Action
Drawing an active cat means capturing its energy and movement. First, observe the cat’s posture and motion. Then, sketch the basic shapes and refine them.
| Pose | Key Features | Tips |
|---|---|---|
| Sitting | Upright posture, legs tucked under | Pay attention to proportions and leg positioning |
| Sleeping | Relaxed body, soft facial expression | Use gentle lines to convey relaxation |
| Active | Dynamic posture, movement lines | Capture the energy and motion of the cat |
By practicing these poses, you’ll get better at drawing cats. Remember, the key is to observe and practice a lot.
Exploring Different Styles of Cat Drawings
Trying out different cat drawing styles can help you find your own unique voice. As you explore cat drawings, you’ll see how different styles change your artwork’s feel and character.
Cartoon and Stylized Cat Characters
Cartoon and stylized cat characters are great for those who love a playful, exaggerated style. These styles use simple shapes, bold lines, and bright colors. They’re perfect for making cute and fun illustrations.
You can play with different faces and poses to make your cartoon cats come alive.
Semi-Realistic Cat Portraits
Semi-realistic cat portraits blend realism with artistic freedom. This style is perfect for capturing a cat’s essence and personality. To get a semi-realistic look, focus on the cat’s features and proportions.
Use soft shading and texture to add depth and interest.
Expressive and Whimsical Cat Illustrations
Expressive and whimsical cat illustrations let your imagination soar. This style includes bright colors, abstract patterns, and lively compositions. By being creative, you can make unique and eye-catching cat illustrations that show off your artistic side.
| Style | Characteristics | Ideal For |
|---|---|---|
| Cartoon | Simplified shapes, bold lines, vibrant colors | Creating cute and engaging illustrations |
| Semi-Realistic | Accurate features, subtle shading, texture | Capturing the essence and personality of cats |
| Whimsical | Bright colors, abstract patterns, dynamic compositions | Showcasing creativity and artistic flair |
Advanced Tips for Improving Your Cat Drawings
Enhance your cat drawing skills with these advanced techniques. As you get better, learning these techniques is key. They help you create effortless cat sketching techniques that impress.
Rendering Different Fur Types and Textures
It’s important to show the texture and type of fur in your cat drawing. Use different line weights and shading to show various fur textures. Short, smooth strokes work for short fur, while longer strokes are better for longer fur.
Creating Lifelike Eyes and Whiskers
Eyes and whiskers make your cat drawing come alive. Focus on the shape, size, and expression of the eyes. Use gentle shading to show depth and sparkle.
Draw whiskers with a flowing motion, changing length and thickness for realism.
Using Light and Shadow Effectively
Knowing how to use light and shadow can make your cat drawings better. Find the light source and shade based on that. Soft shading for shadows and highlights for light areas adds depth.
Adding these advanced techniques to your practice will greatly improve your cat drawings. They will look more engaging and realistic.
Common Mistakes to Avoid in Your Cat Drawings
Drawing cats can be fun, but some mistakes can ruin your work. Knowing these common errors can help you improve your easy cat drawings.
Proportion and Anatomy Errors
Getting the proportions and anatomy wrong is a big mistake in cat drawings. To fix this, learn the basic skeleton and body shape of cats. Here are some tips:
- Focus on the head to body size ratio.
- Make sure the legs and tail match the body size.
- Study cat anatomy to draw muscles and bones right.
Overworking Your Sketch and Losing Spontaneity
Another mistake is making your sketch too detailed. This can make your drawings feel stiff and less alive. To keep your drawings lively:
- Learn when to stop drawing and avoid too much detail.
- Do quick sketches to catch the essence of your subject.
- Use bold lines and expressive strokes to add character.
By avoiding these mistakes and practicing, you can make your beginner-friendly feline doodles more engaging and realistic.
Conclusion
Now that you’ve finished the step-by-step cat art tutorial, it’s time to use what you’ve learned. You’ve picked up quick cat drawing lessons. These lessons help you draw cats in different poses and styles.
To get even better, go back to the basic techniques and exercises from this guide. Try drawing different cat breeds. Also, experiment with different mediums to see what works best for you.
As you get better, think about learning more advanced techniques. You could try drawing fur textures or capturing cats in motion. The secret to getting good at drawing cats is to keep practicing and be open to learning new things.
With hard work and determination, you’ll soon be making amazing cat art. So, pick up your pencils and let’s keep drawing!